soft shackle – how to make your own
Table of Contents
create the noose
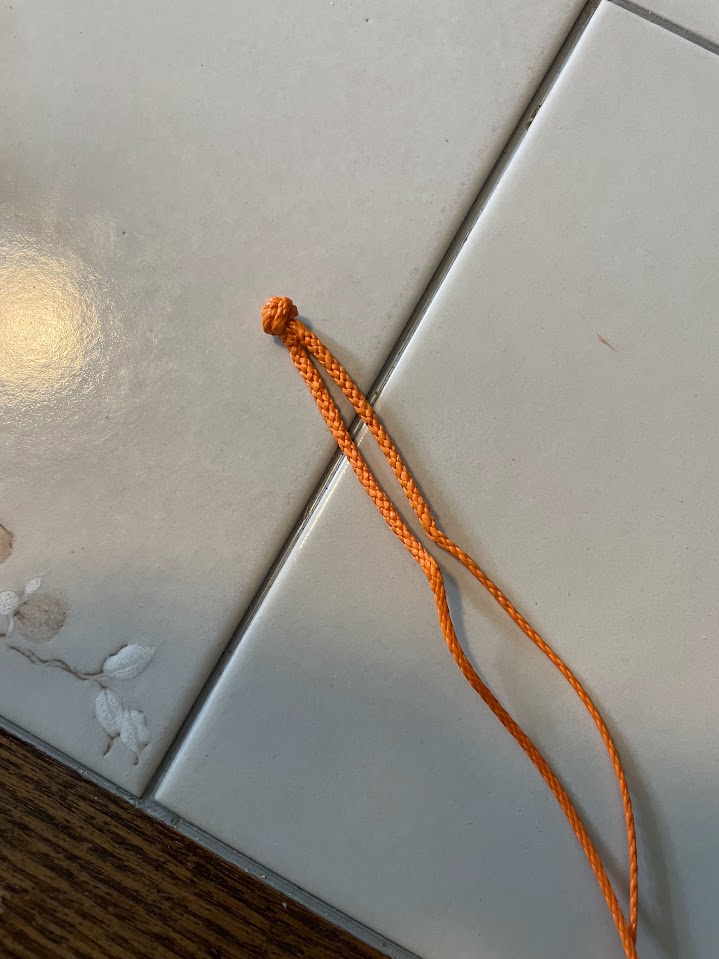
start with at least 20-30 inches of braided rope. fold your it in half.
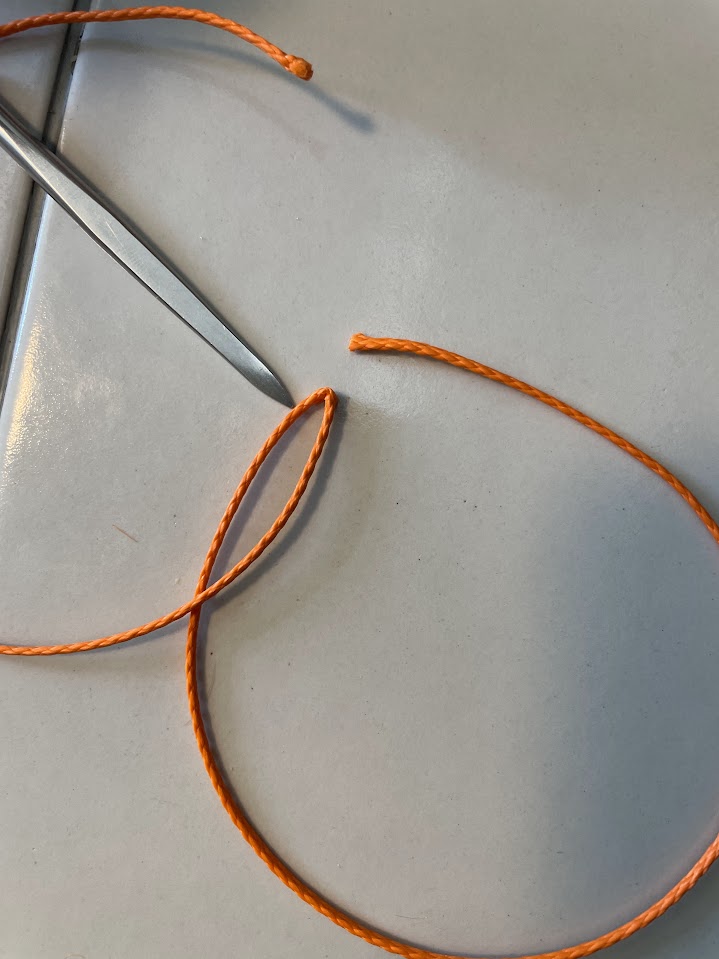
about two thickness of the rope from the middle, split the strands in half, so that there are the same number of strands on either side. (note: the number of strands on each side is important. count them to be sure there are the same number.)
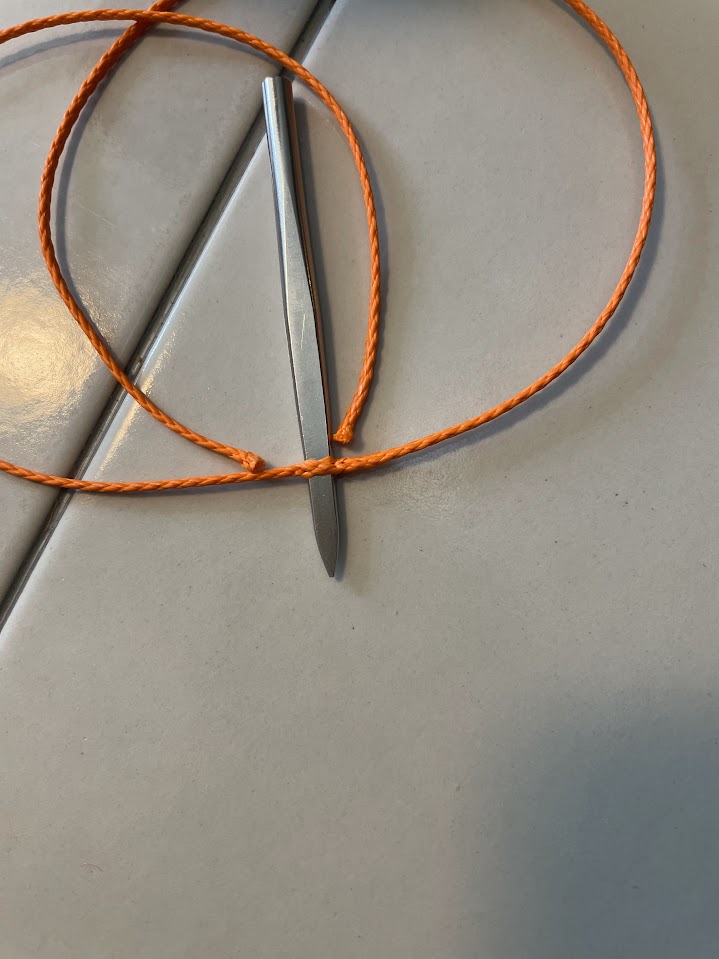
near the end of the longer side, fold the rope in half and poke it through the hold you just made.
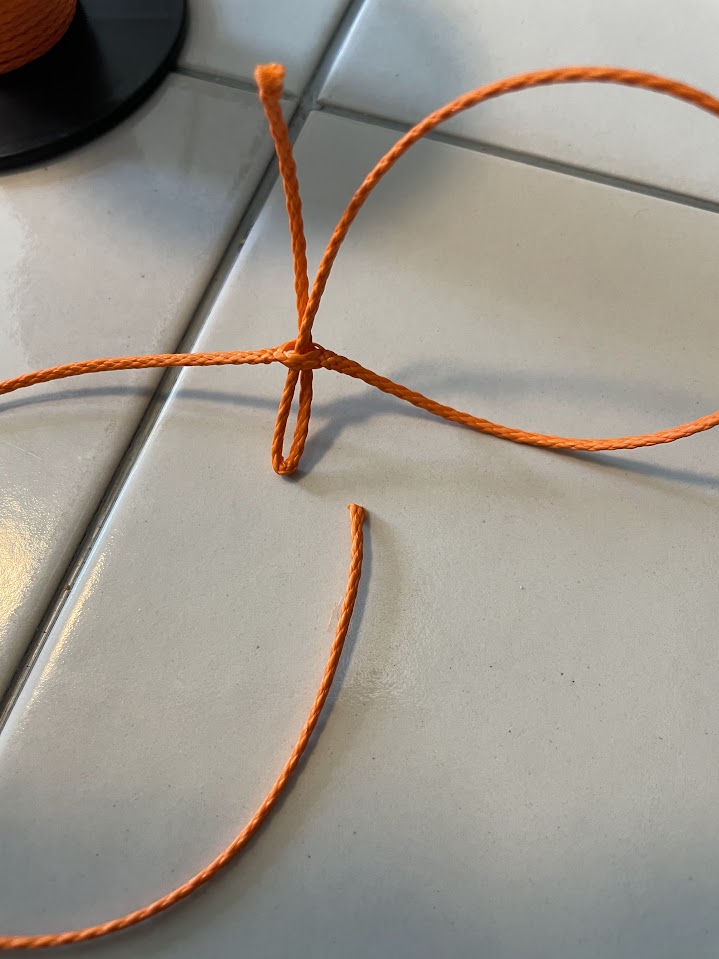
continue pulling it through until you are left with a small loop.
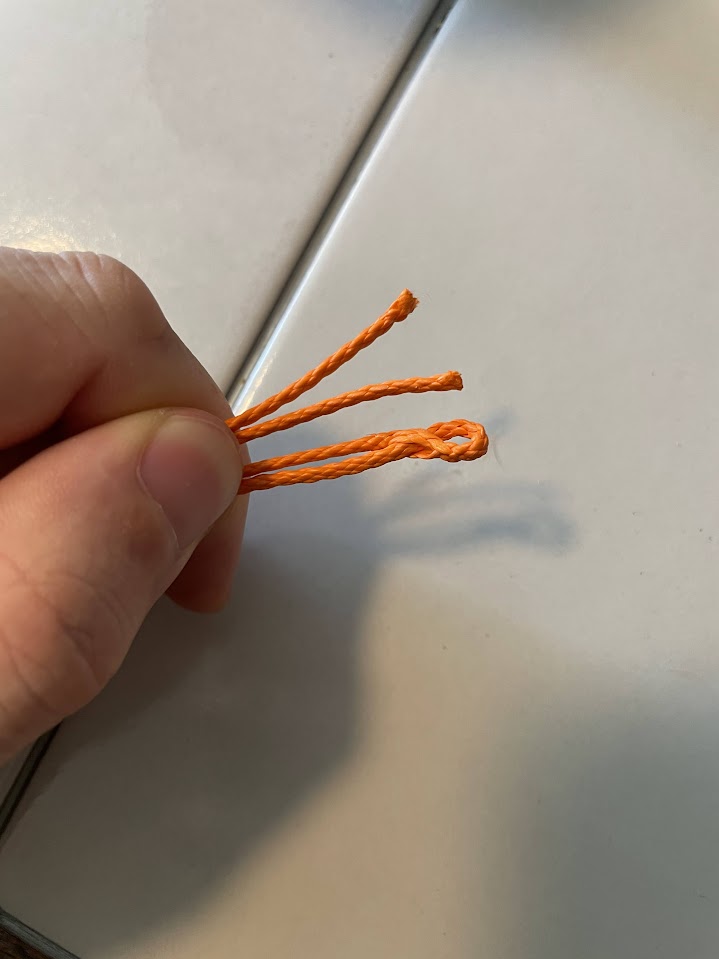
you have created the noose. align both ends before starting the next step.
tie the button knot
it helps a lot if you have a small clamp to hold the rope in place while you work. if not, take some tape and put it around the strands where you want to tie the knot. (note: it is much easier to tie the knot with too much rope and adjust it afterwards. much easier to do that than to tie it in the right spot with just enough rope.)

this is the part of the guide where someone else’s instructions will be much better. each part of this knot is symmetrical, and these photos show you what it looks like after you do both sides of the symmetrical steps. these are the instructions that i used to learn to tie the button knot.

tie a two strand wall knot.

tie a half knot. this will be what you pass the tails through on the last step.

look at the picture carefully and copy it. this is the most difficult step to explain, but once you understand it, it becomes simple. nothing changed from the image above to the image below other than tightening the knot.
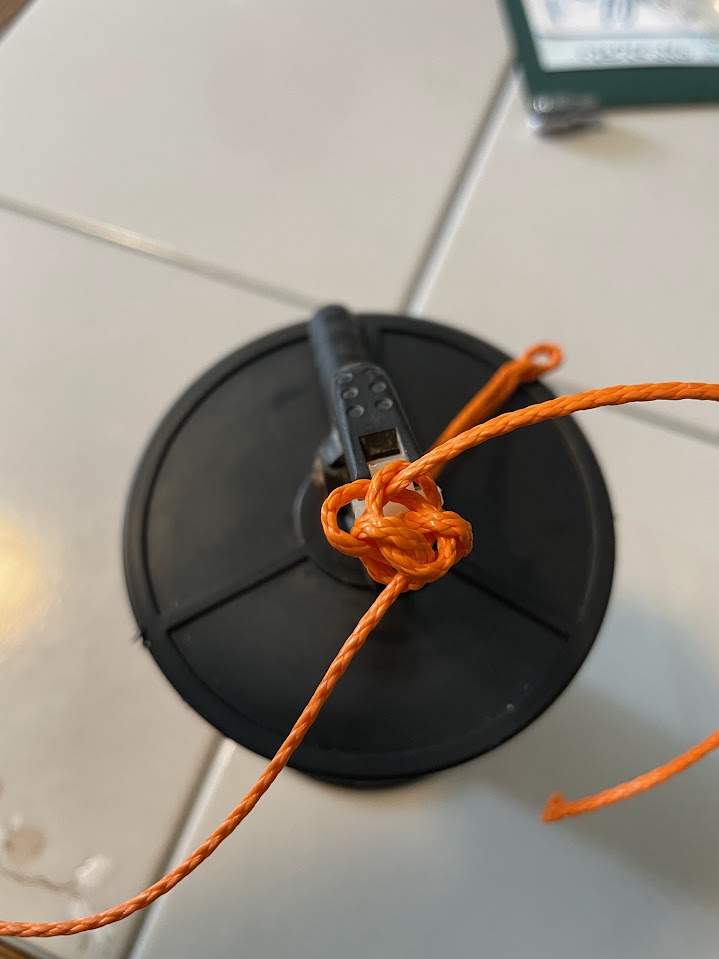
open the half knot. again nothing changed with the knot, but see how i opened the middle of the knot to make space for the tails to go down.
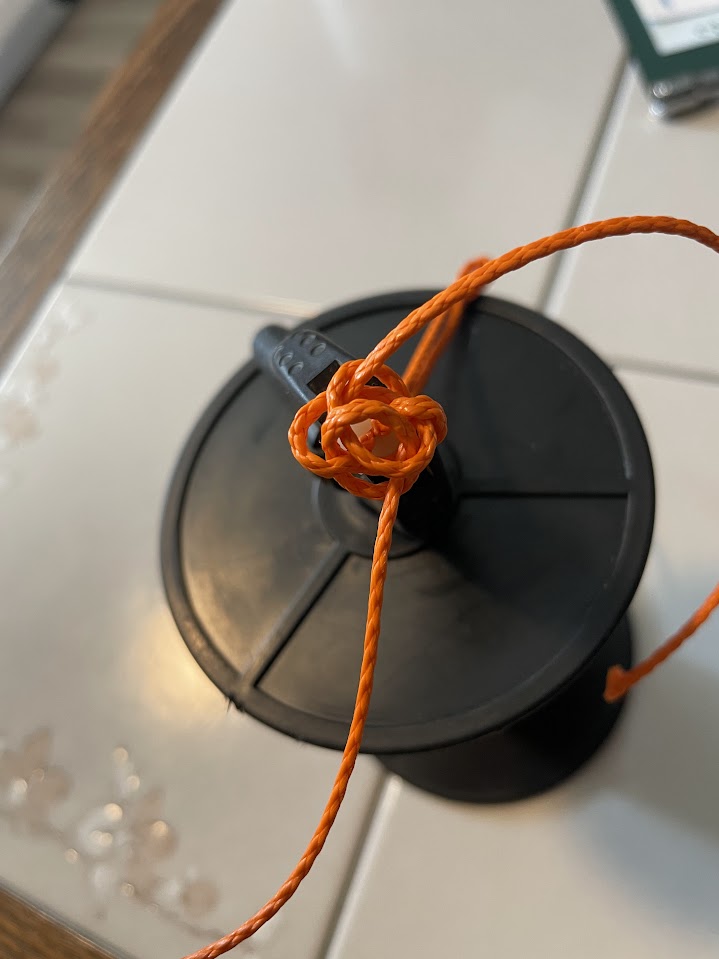
pass the tails through the holes, one on either side of the center of the knot. after you tuck the tails through those holes and clean up the knot, it will look like this:
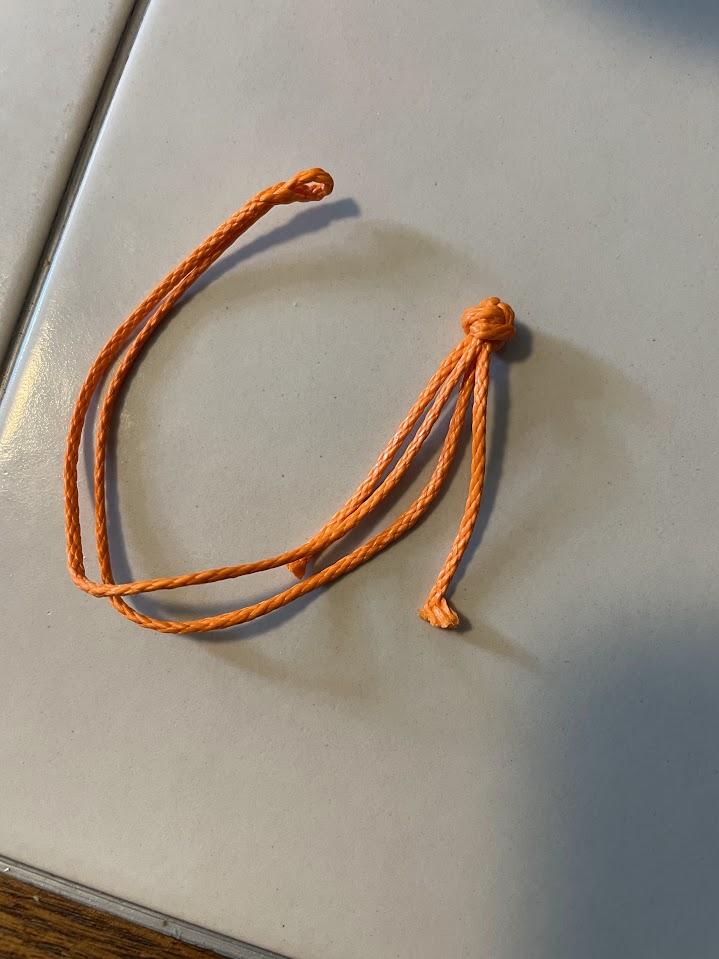
here is a photo of the top of the knot, if you tied it correctly. one of the ways to tell if you tied it correctly is that everything is symmetrical. another is that if you follow a strand, it should go under two other strands, pop out, then under under two strands, pop out, and so on for four times.

burying the tails
before you bury the tails, tighten the knot. i like to do this by hanging from the soft shackle (close it and put my body weight on it, using the noose to pull the knot tight), or by using pliers to pull each strand of the knot tight.

when your soft shackle looks like the above image, then you are ready to begin. to do the bury, i use a thin wire wrapped around cardboard.
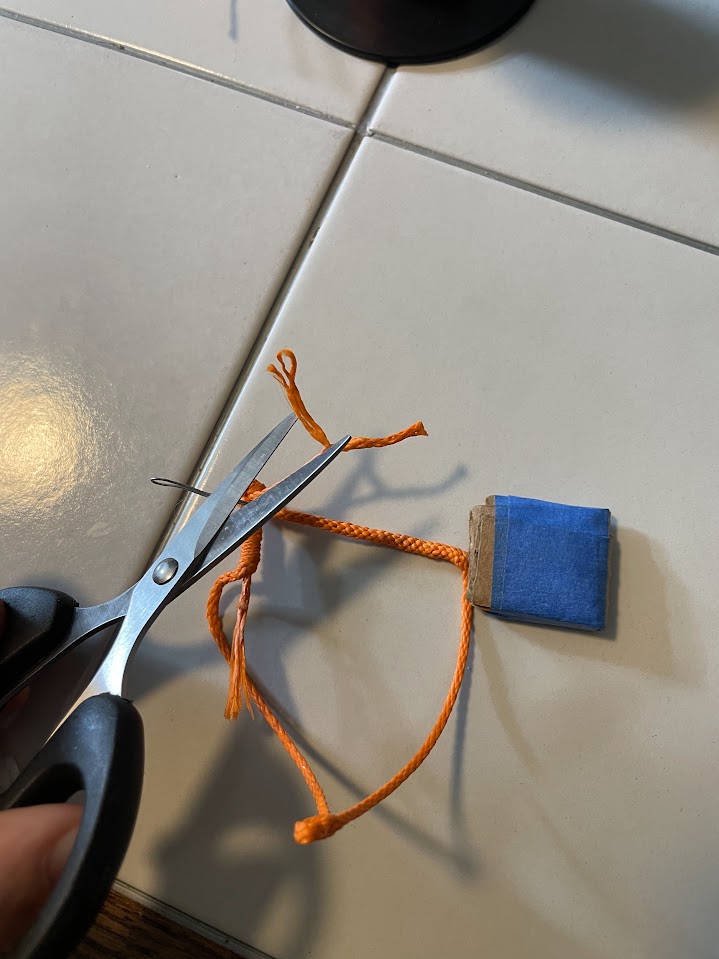
thin the ends of the tails. there are many ways to do this, but go about an inch up from the end and cut half the strands. (you can also thin in two places for a more gradual reduction in diameter, which is better to get full strength out of the rope.)
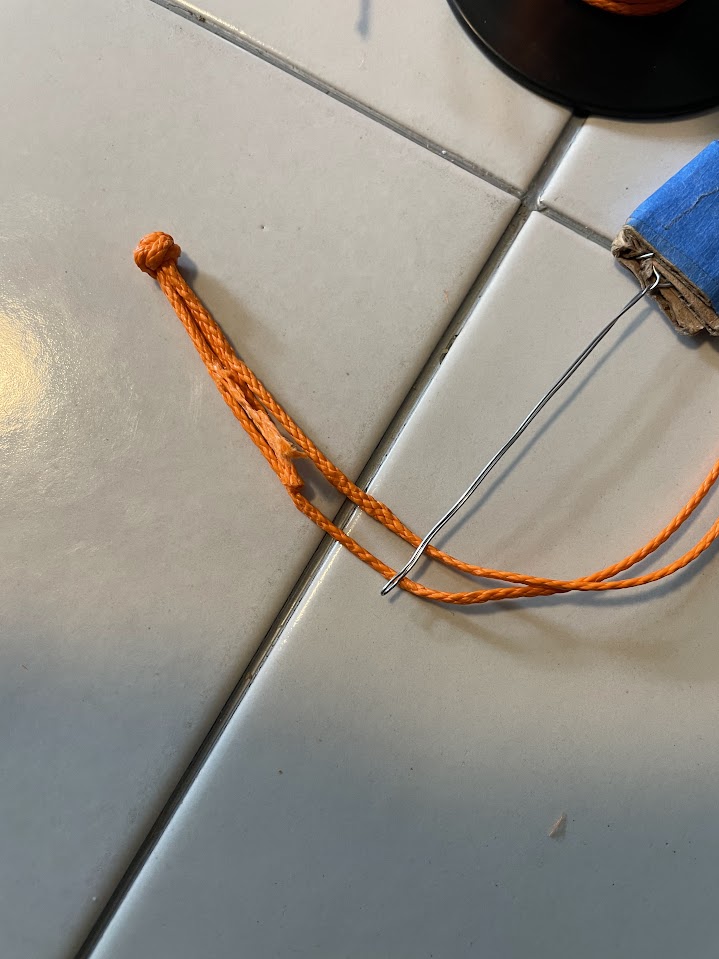
push open the braid and feed the wire in, around where the wire is in the previous photo. depending on your size of rope, you will need a different distance past the ends of the tails. for this rope i go about an inch past.
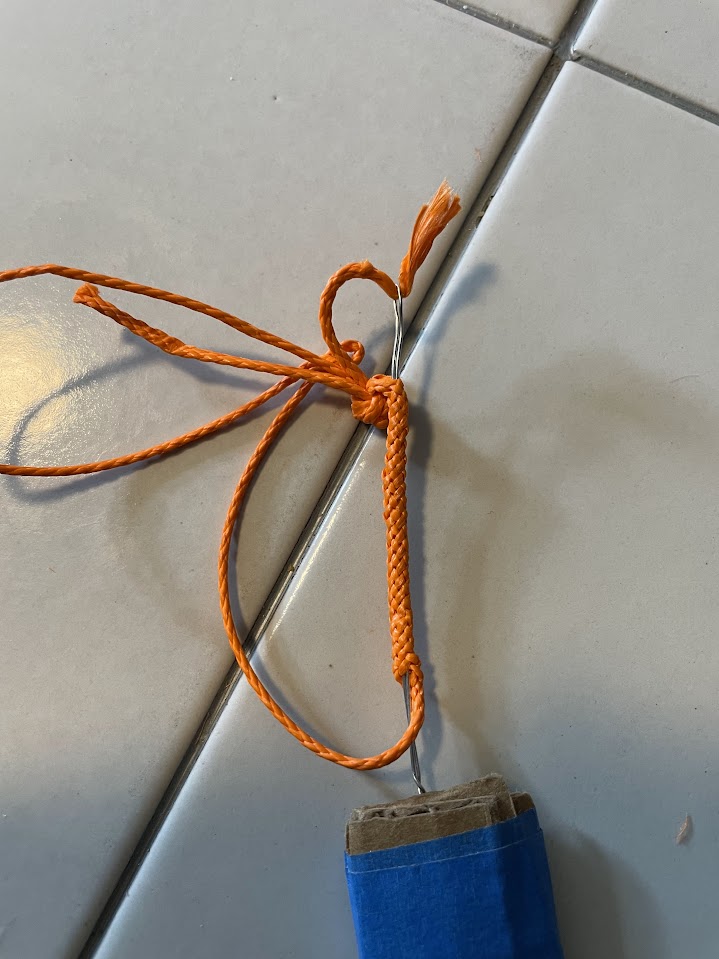
once you fish the wire through, push it out as close to the knot as you can. put the end of one of the tails through the wire, and fold it back on itself.
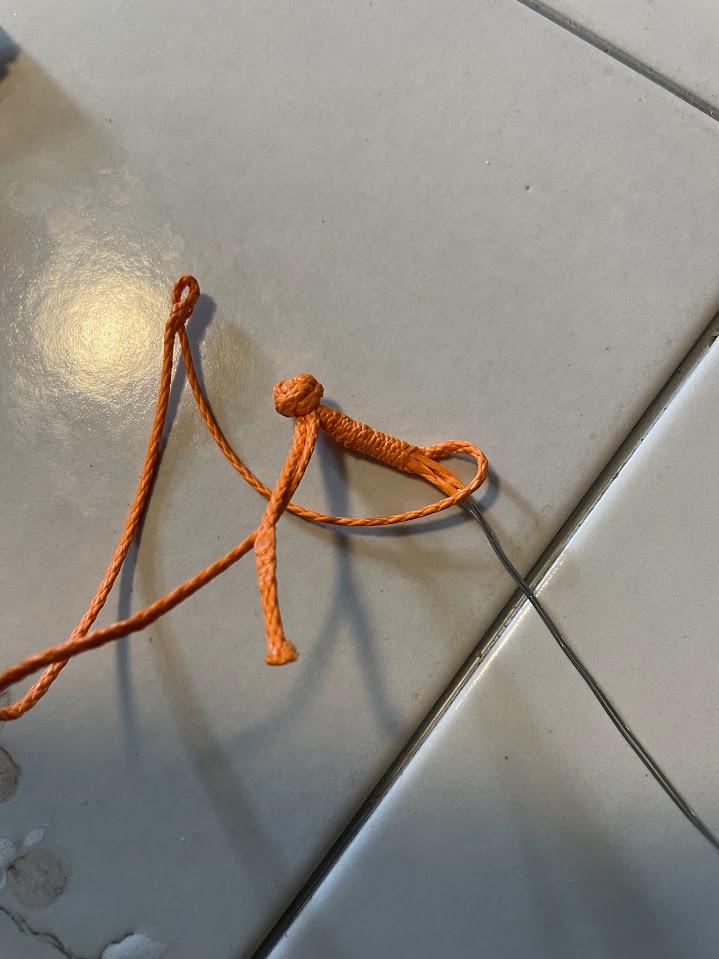
bury the tail by pulling the wire (with the tail in the end of it) through the braid and out again. when it comes out, tug on it with pliers to make sure it is all the way in and there is no bunching.
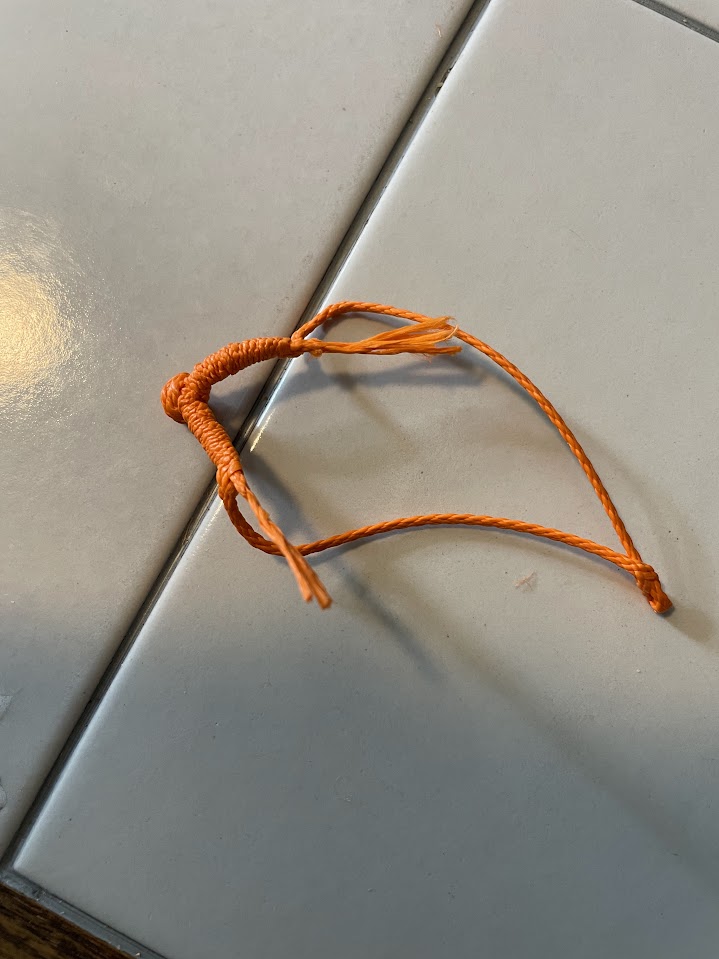
milk the bury (this is the most satisfying part!). from the button knot, unbunch the rope by sliding your fingers down it. if you did it corrently, the tails should be completely inside of the braid. if not, unbury them and enter the braid lower next time.
completed soft shackle
