split keyboard – updates
Table of Contents
Split keyboard keymap, revisited. (2023)
(written in 2023)
I have previously written about my split keyboard, why I use it, how it works, and the thinking behind why I planned it the way it is. That post is here.
In the last year and a half, I have enjoyed using the split keyboard, and used it almost every day. At some point, I realized that I wanted it to be smaller. I felt like I could relatively easily reduce the number of keys by six, removing the rows on the outside of the pinky. This is because I have traveled with my keyboard a lot. It’s certainly easier than a full sized keyboard, and gives me the benefits of one, but my carrying case for it is like a 9x6x3 inch cube. Also, I wanted to reduce the number of keys as a challenge, and to better utilize the keys that I had. So in July, 2023 I designed a 36 key keymap. It uses home row mods, and modifiers on the thumb keys.
I tried to keep everything as easy to use as possible. In my brain, the best way to do this is to trade a mental map of physical locations for a metal map of layers. I experimented with the idea of tapping a key to take me to another layer, but it turned out that I rarely used that, and so my layers are accessed by holding down a key. I think of my keyboard in two main sections, the finger keys (everything except the thumbs) and the thumb keys. (Yes, I realize thumbs are fingers too, but I mentally separate them. If I really wanted to be efficient about putting most used keys where it is easiest to tap, I would leave QWERTY in the dust and also put some of the most used letters on the thumbs.)
The Thumb Keys
In the same way that the home row mods are mirrored between hands, I did that with the layer switching on the thumbs. When held down, the furthest from center thumb key takes you to the function layer. The next takes you to the navigation layer. The closest to the center takes you to the number layer. When you tap the keys, they (mostly) do not mirror across the hands. From left to right, here are the tapped thumb keys used: LH: (delete, tab, enter,) RH: (enter, space, backspace). I found I only typed space with my right thumb, and so removed the space key. I rarely type enter with my right thumb, so that is a space for future improvement. I realized that sometimes I do need to space or backspace with my left thumb, and tab or delete with my right thumb, so I added a “keymap” for the thumbs (actually it’s part of the navigation layer, but I think of it as a separate thing), which can be accessed by holding down the E or X key. This keymap mirrors the tap function of the thumb keys, so you can type space or backspace with the left hand. (This is useful when your right hand is on a mouse, which I still do frequently. I haven’t graduated to the full keyboard lifestyle yet.)
The Finger Keys
Layer 0 (QWERTY)

At one point, I tried having lots of layers, with each dedicated to something specific, and many blank keys. I was thinking that I could use tapping of thumb keys to quickly travel between lots of layers, but it turned out this was just confusing. Also, once I removed the six outer keys, I didn’t have the thumb keys available to use for tapping. So I condensed my layers and now access them by holding down keys. I don’t type fast enough that the 200ms delay to access a layer bothers me (and obviously you can customize this delay to be longer or shorter). With this approach, I have four main layers and two rarely used layers. (Those are a dedicated gaming layer and an adjustment layer.) The keyboard stays on the QWERTY layer most of the time, which is a full sized QWERTY layout. It also has the delete, tab, enter, space, and backspace keys accessible on the thumbs by tapping. Then when you hold keys down, the home row becomes windows, alt, shift, and ctrl, mapped to a, s, d, f, and that is mirrored for the right hand. (ctrl, shift, alt, windows on j, k, l, and ;). I’ve already described how the thumb keys work.
Layer 1 (Navigation)

On the navigation layer, the left hand has the arrow keys (e s d f) and page up, page down, home, and end. It also has the `, ‘, and " keys on the pinky. (This has worked way better than I thought it would, since I was used to using my right pinky for the ’ and " keys.) The right hand has a dedicated ctrl, shift, alt, and gui/windows key on the home row, for combining with the arrow keys for shortcuts. Then it also has insert, escape, and the ^, &, *, +, ~, and _. (These didn’t fit on my number/symbol layer)
Layer 2 (Numbers/Symbols)

On the number/symbol layer, I have the numbers arranged in a numpad layout for the right hand. Around it I have the symbols related to math and time, *, =, :, +, -, /, ., 0. For the left hand, I have the brackets with the open bracket on the home row, and the corresponding close bracket right underneath it, ordered like this: (, <, {, [. I found that most programs where I type brackets, it will auto type the close bracket for me, so I just put the open one on the home row. Then I have the 1-5 shifted keys above, !, @, #, $, and %. Lastly, I included the \ and | keys. So it’s like LH symbols, RH numbers.
Layer 3 (Function/Mouse)

On the function/mouse layer, for the left hand I put the mouse keys. I rarely use these, but technically I don’t need a mouse at all. I can do most window navigation with shortcuts, and eventually I may like to get rid of the mouse, but for now I still use it a ton. The left hand has all the function keys, arranged in a numpad format, and then the column to the right of them has F10, F11, and F12 going down. That’s pretty much it for that layer.
Layer 4 (Gaming) and Layer 5 (Adjustment)


These two layers are less interesting, but I am posting the screenshots of them for my own future reference. (Note: Technically layer 4 is actually layer 2, but that is for layer switching purposes.)
TOTEM Keyboard and beyond (2024)
(written in 2024)
In spring of this year, I finally bit the bullet and fully built a custom keyboard. I built the TOTEM, which has 38 keys. I updated my keymaps to be less theoretical and more useful. And finally, I have a solution to be able to type on my keyboard away from my keyboard, which is a program called Kanata.
TOTEM Build

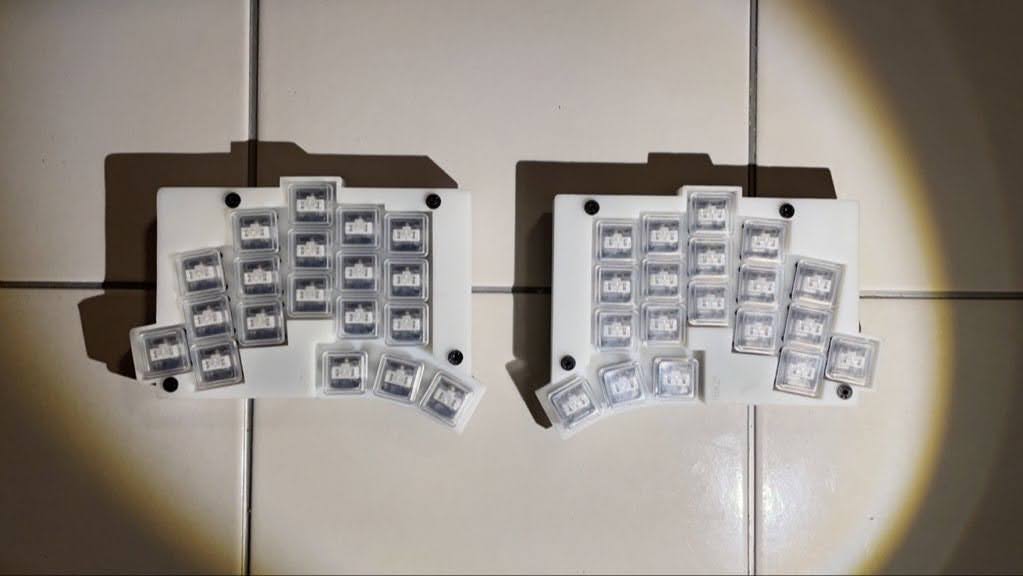
My wireless TOTEM keyboard.
Building the TOTEM was a lot of fun! I was debating between building a TOTEM and building the Charybdis Nano, which has curved keywells and a trackball built into the right hand near the thumb. I settled on the TOTEM because it is much smaller, and will travel better. Also, being a 38 key keyboard, it has one extra key on each side for the pinky, which I thought might be useful (extra compared to a 36 key Corne keyboard, which I think is the standard 36 key layout). The TOTEM also uses low profile switches, and is designed to be as thin as possible. You can build it in a wired or wireless version. I love the idea of my mouse being integrated into my keyboard, and I like the trackball, but after having used both finger and thumb trackballs, I like the finger ones much better. My thumb ends up being sore after a few weeks of the thumb ball, whereas the finger ones have not had that issue for me. Also because the Charybdis has a trackball, it cannot be wireless, and I really wanted to try a wireless keyboard.

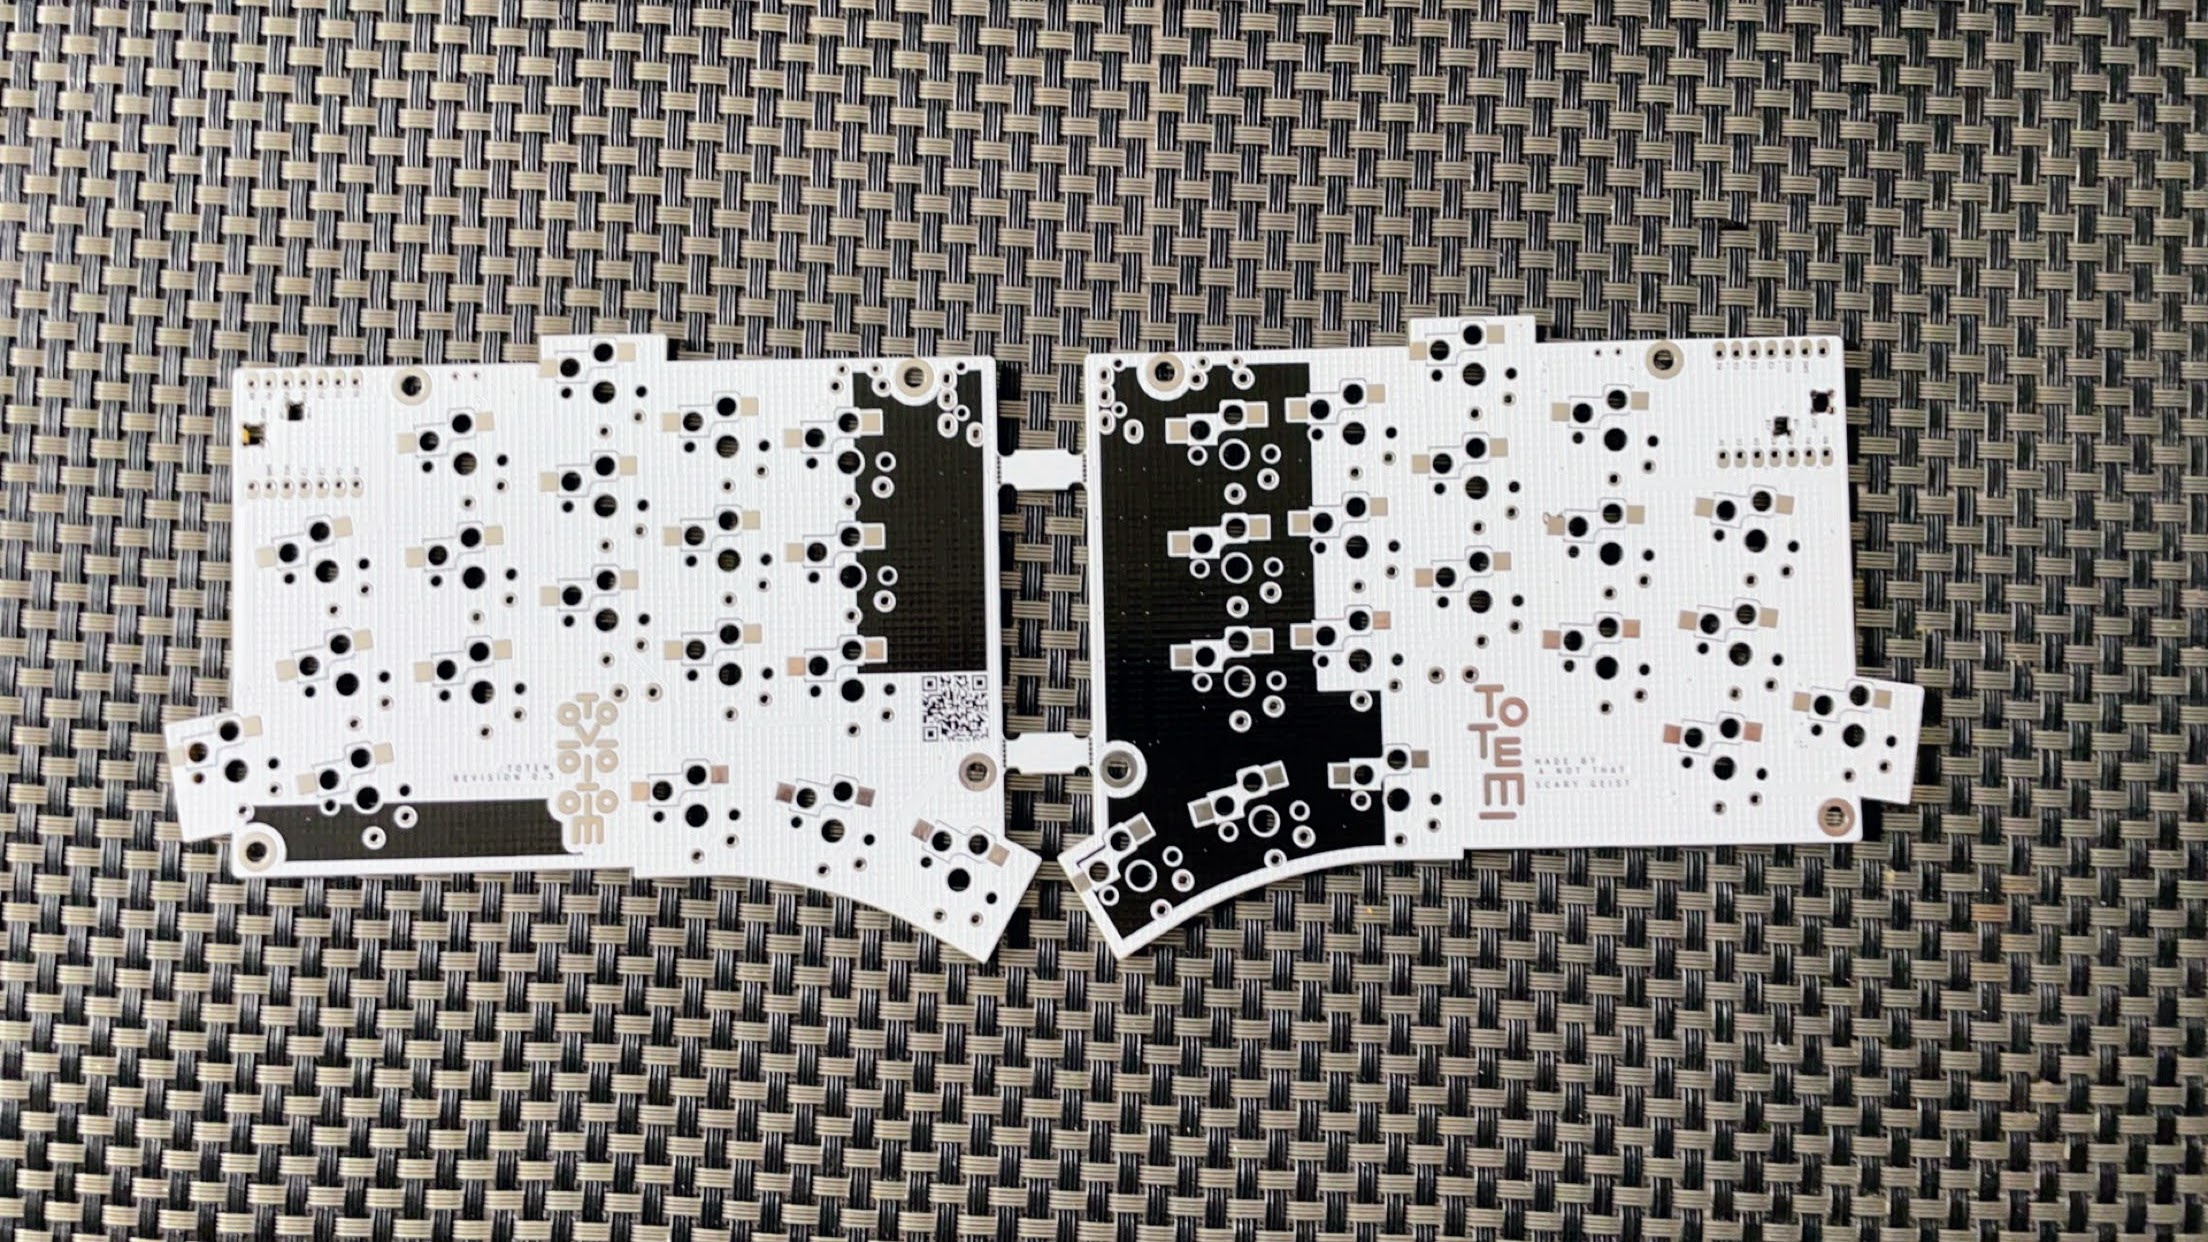
I ordered all the parts and the PCBs, and got to work building it! Here are a few tips that I remember from my time building:
Don’t put it in the case too early. The keys are much more difficult to pull from their sockets once they are in the case, and this cost me much time, as I kept thinking everything was put together, but I had errors somewhere.
Use flux! Especially when connecting the Seeed XIAO microcontroller to the PCB. On almost all of my boards, I did not get enough solder to make the connection (like it was physically touching and so it worked), but when things shifted, then my keyboard would stop working. So I had to take it apart again and find where I did something wrong.
Be careful with the on/off switch on the BLE version. On one of my boards, it wasn’t charging because the on/off switch was broken. I tried to replace it and damaged the PCB, leading to the board working if it was plugged in, but not from the battery. On the other board, I wasn’t careful turning it on/off, and broke the switch in the on position. This isn’t the worst, as it lasts around a month on battery power, and has an auto-standby mode, but it’s annoying.

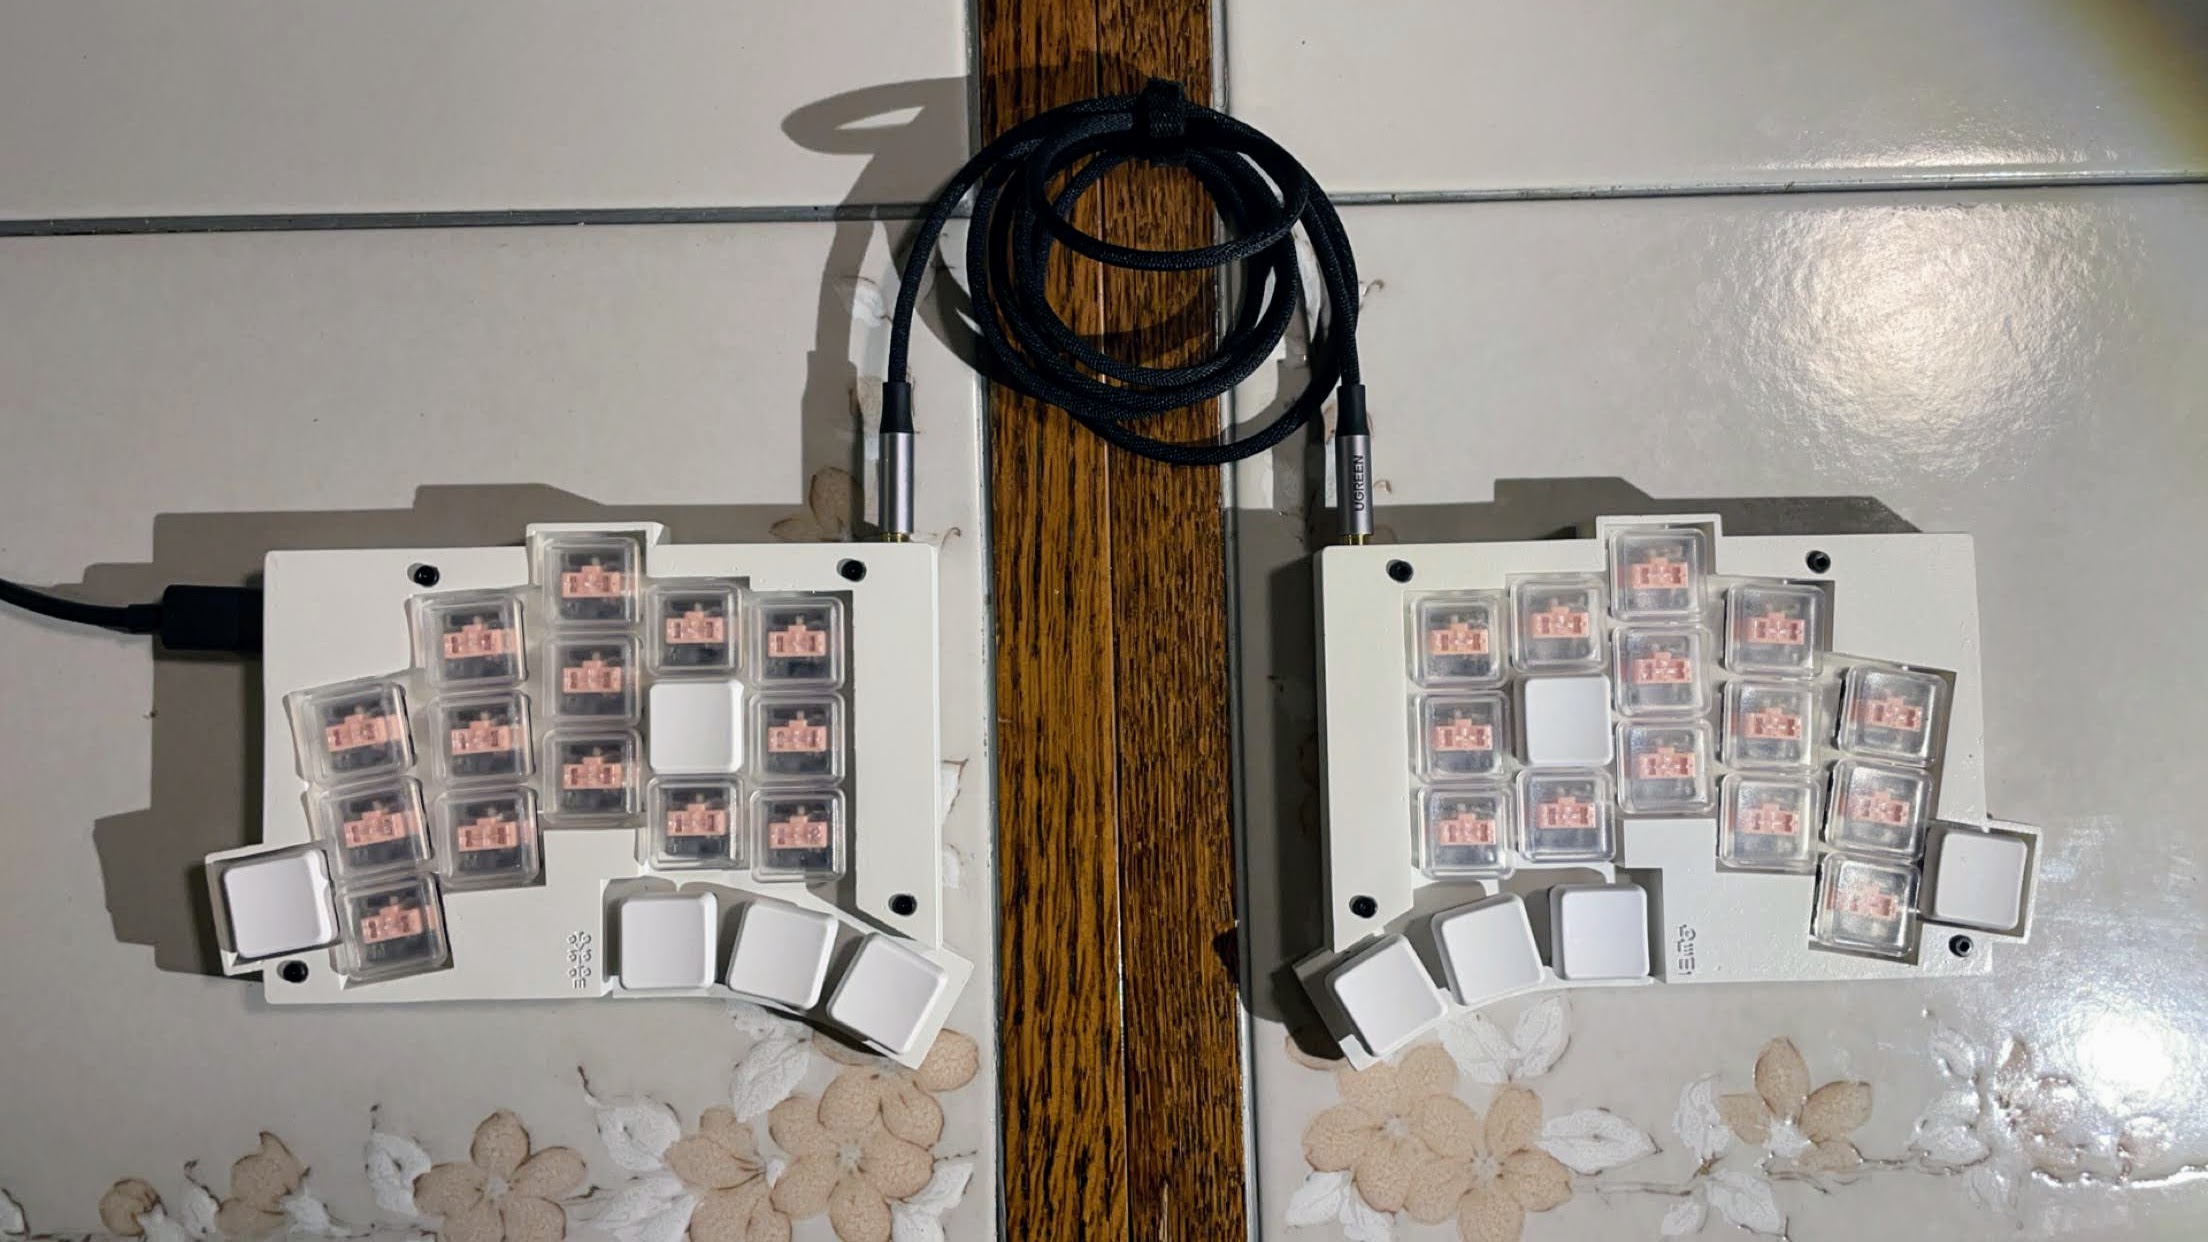
My wired TOTEM keyboard.
I built two TOTEM keyboards, a wired and wireless version. When ordering parts, most of the cost is in shipping, so going from one board to two added $20 in parts, not counting switches. (Ordering switches for this board is annoying, because it uses the choc v1 switches and they have moved on to the v2, and it has 38 keys. I found packs of 36 switches, which meant that I was two switches short.) Because of the aforementioned issues with the wireless keyboard build, I have been enjoying the wired version better, especially since both need to be plugged in. May as well have the latency gains and not need to worry about the bluetooth connectivity issues.
Keymap Updates
When re-thinking through my keymap to add the extra pinky key to it, I ended up keeping most things the same, but changed how I switch layers. I realized the 80% of the time I am on my alpha layer, then the remaining 15% of the time I am on my symbols/nav layer, then 4% of the time I am on my numbers/function keys layer, and finally 1% of the time I am in the adjustment layer. So, the thumb keys now only move me to the symbol/nav layer, and the pinky keys to the numbers/function keys layer, and a combo of both of those to the adjustment layer. There were a few keys on the number layer that I used more frequently, specifically the =, +, and - keys. Here is where I got clever xD I started using key combos for the first time. I had not wanted to try to figure out key combos before, but it turns out that they are pretty easy in both ZMK and QMK. I put the = symbol on j and k, + on k and l, and - on l and ; keys. (and for a bonus, ~ on j and l) Then I added a few other combos while I was at it, of which I use ESC on q and w the most. I switched from having the arrow keys on e s d f to be on h j k l, to match the VIM layout. (This is because maybe someday I’ll want to try VIM, and if I’m use to that arrow key layout, it’ll make the transition much easier, I hope.) Oh, I also moved my row of `, ‘, and “ to my nav layer on the left hand. These changes enabled me to use my number layer much more infrequently, and makes it much easier to type these symbols.
The thing that I did that has not been useful is adding a “repeat” key. I was thinking that a repeat key would be useful when typing double-lettered words. So I could type the first letter, then hit repeat, and wouldn’t have to tap that key again. Turns out I barely use the key. The other experiment I added was putting a shift for one word key on my pinky. This has worked out slightly better, because I’m not great at typing out a whole word properly switching which shift key I hit. I am good at using the shift on the opposite side from where I’m typing, but because shift is on my middle finger, it blocks the d and k keys, depending on which hand is holding down the key.

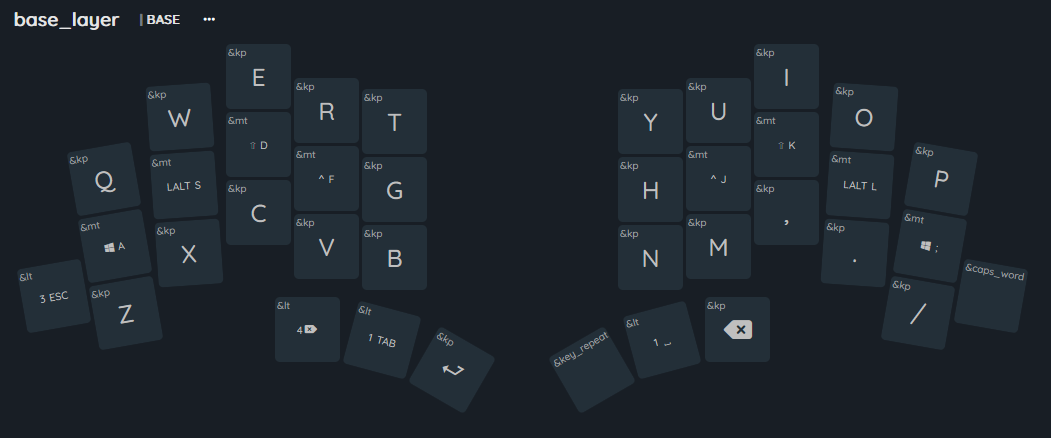
- Layer 0 (QWERTY)

- Layer 1 (Navigation/Symbols)

- Layer 2 (Numbers/Function)

- Layer 3 (Adjustment)
These photos are from the ZMK layout, but I copied it over to a QMK layout for both the TOTEM and the Corne. The photos are missing all the secondary functions when you tap and hold a key, as well as the key combos.

That’s what the layers look like if you also visualize the home row mods, but I think it’s more confusing if you don’t know what you’re looking at. I got the image from a ZMK Keymap Editor with a GUI, which was very handy to help me learn ZMK and copy over my QMK keymap.
And Beyond! (Kanata)
Since switching to the TOTEM keyboard, I have not used any tenting features. Not that I don’t like them, but I have been packing up my keyboard every day, and getting the keyboard tenting set nicely takes more time to configure than just laying the keyboard flat. This led to me typing on my laptop keyboard more, which led to me missing the home row mods and alternate layers when using my laptop. Enter Kanata.
Kanata is a program that runs on Windows, Mac, and Linux, and basically is able to give all the features of custom keyboard firmware on a normal keyboard. I created a Kanata keymap that emulates most of my normal keymap, except that it only has two layers. One for home-row-mods and combos, and the other for navigation and symbols. You access the second layer by holding down space. The only other key I changed was making the key right next to space (on my keyboard alt) into a tab key, so I can hit tab with my thumb. (Conceptually, combos are much more confusing to program in Kanata than in ZMK or QMK). If you want to try my keymap and experience the magic of home row mods, you can now do it with no change to your physical hardware! Just copy my Kanata keymap and save it with a .kbd extension. (You can download a github plugin to get text highlighting and basic error checking on these files, if you want to edit the file later). Then, go to Kanata’s releases and download the most recent version. (I am currently using a prerelease of v1.7.0, which has a kanata_gui.exe that runs in the background on windows, which is nice.) Now, Kanata does not play nice with my split keyboard, so I don’t have it start on boot, but that’s definitely something that you can do if you want to.
Conclusion
I first wrote about keyboards in July of 2022. Now it’s October of 2024, over two years later, and I’m still loving the split keyboard life. I don’t think I’ve gone off the deep end too much xD. I have four boards, two Corne’s and two TOTEM’s. I got to build both TOTEM’s from scratch, which was a joy! And now, even if I’m away from my split keyboard, I can still use the main features of it on any keyboard, thanks to Kanata.
Keymaps
my keymaps, from oldest to newest:
- oldest corne keymap - my corne keymaps with animations
- corne 36 keymap - my corne 36 keymap
- corne hjkl keymap - my corne hjkl keymap
- corne 38 key keymap - my corne 38 keymap
- zmk totem keymap - my zmk totem keymap
- qmk totem keymap - my qmk totem keymap
- kanata.kbd - my kanata keymap